
For those who don’t know what Directus is: an open source database first CMS that generates an api. Lot of buzzwords there, but it’s truly a cool project that deserves much more attention IMO.
Recently I’ve used it to deliver some static generated websites that needed some sort of CMS. Think of a blog, or small landing pages. For that kind you can combine it with Gatsby or in this case Sapper to generate static html from the API.
The article will focus on Sapper, but the parts related to Directus are identical for Gatsby, just the frontend will change.
What will we do today?
- Install Directus
- Create some data and make in publicly available
- Create a super small frontend
- Write a custom hook for Directus that automatically triggers the build whenever content changes in the DB.
Installing Directus
This should be straight forward. These instructions are adopted from the official docker guide. I will use Docker for this.
# docker-compose.yml

version: '3.7'

services:
  mysql:
    image: mysql:5.7
    volumes:
      - ./data/db:/var/lib/mysql
    env_file: .env

  directus:
    image: directus/directus:v8-apache
    ports:
      - '8000:80'
    env_file: .env
    volumes:
      - ./data/config:/var/directus/config
      - ./data/uploads:/var/directus/public/uploads
The we run docker-compose up -d. After a few seconds we need to initialise Directus.
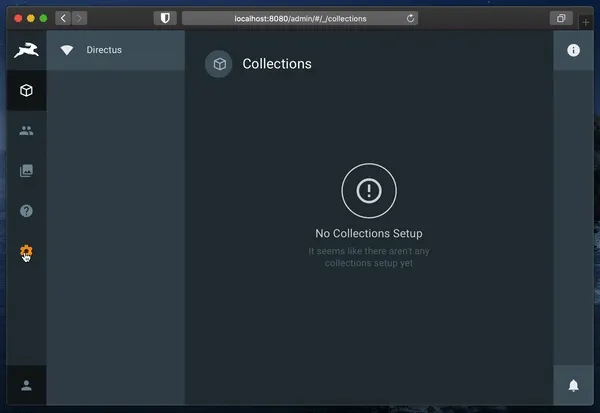
docker-compose run directus install --email [email protected] --password 1337Now you can go to localhost:8000 and sign in with the credentials you just specified
Create some data
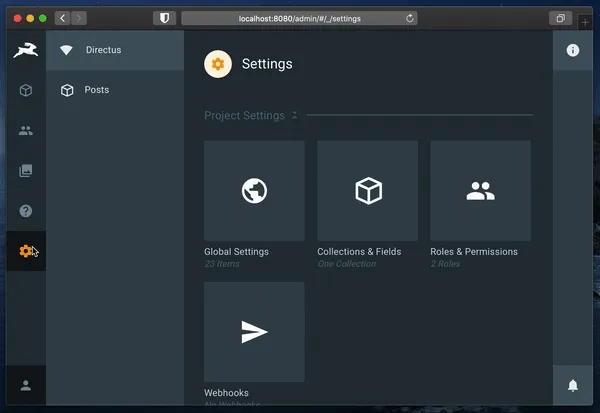
Now I’m going to create some data to test our blog. First go to the settings and create a new collection. Im a going to call it posts.
Then we are going to add a title text field and a simple markdown editor with a body field.
Lastly we add a simple post with random data.
Insert collection and data
Giving permissions
Now we need to give permission to the public role so that we don’t need an API Key. For the most sites this is perfectly fine, since the data we only expose the data that gets displayed in the website anyways.
Goto the roles settings and click on public. There select the tables you want/need for the website.
Gotcha: If you have files (like photos) you also need to enable them for public viewing. Do this by clicking “Show Directus System Collections” and enabling view access to Files
Give permissions to the public user
Building a minimal frontend with sapper
I will not explain how Sapper works as this is not the focus today. If you don’t know Sapper: It’s very similar to Nuxt or Next.js with the additional option to even export as static html, so the end result is similar to a Gatsby website. Very powerful and easy to use and code.
# Setup
npx degit "sveltejs/sapper-template#rollup" my-blog
cd my-blog
yarn
yarn run dev
# open http://localhost:3000
Load data from Directus
Directus has a JS SDK and since we have made data public we don’t even need a token or authentication. Awesome 🚀
yarn add @directus/sdk-jsFirst we are going to initialise the SDK. The default project name is simply directus
// ./src/lib/api.js

import DirectusSDK from '@directus/sdk-js'

export const client = new DirectusSDK({
  url: 'http://localhost:8000',
  project: 'directus',
})
Then lets make a server side json loader so that the exported site will not even contact the server afterwards. Completely static html.
// ./src/routes/posts.json.js

import { client } from '../lib/api'

export async function get(req, res, next) {
  try {
    const { data } = await client.getItems('posts')

    res.writeHead(200, {
      'Content-Type': 'application/json',
    })
    res.end(JSON.stringify(data))
  } catch (e) {
    res.writeHead(404, {
      'Content-Type': 'application/json',
    })
    res.end(
      JSON.stringify({
        message: 'Not found',
      })
    )
  }
}
Finally the svelte component.
// ./src/routes/index.svelte

<script context="module">
  export async function preload ({ params }) {
    const res = await this.fetch('posts.json')
    const data = await res.json()
    if (res.status === 200) return { data }
    else this.error(res.status, 'Not found')
  }
</script>

<script>
  import Post from '../components/Post.svelte'
  export let data
</script>

<div class="wrapper">
  {#each data as post}
    <Post {post} />
  {/each}
</div>
Write a custom hook to trigger a build every time the data changes
When it comes to static generated sites often the easiest way to do things is to simply generate the site every “x” time. That kinda works however there will be many build that don’t contain any change and you need to wait for a cron job to see changes. That sucks.
Fortunately Directus supports writing custom hooks! 🎉
I will illustrate the case for Drone, but the approach can be used for any CI/CD server out there.
For that we create a new php file and give it a name. In my case: drone-hook.php
# ./hooks/drone-hook.php

<?php

function process ($collection, $data) {
    $collectionsToWatch = ['posts'];
    if(!in_array($collection, $collectionsToWatch)) {
      return;
    }

    $ch = curl_init();
    curl_setopt($ch, CURLOPT_URL, 'https://my.domain.com/api/repos/my-username/my-repo/builds');
    curl_setopt($ch, CURLOPT_POST, 1);
    curl_setopt($ch, CURLOPT_HTTPHEADER, [ 'Authorization: Bearer '.$_ENV['DRONE_TOKEN'] ]);
    curl_setopt($ch, CURLOPT_RETURNTRANSFER,true);
    curl_exec($ch);
    curl_close($ch);
}

return [
    'actions' => [
      'item.create' => process,
      'item.update' => process,
      'item.delete' => process,
    ]
  ];
I’ve also put the token inside of the .env file so that I can safely check my code into a repo and not having to worry about having a token lying around in the codebase.
# .env

...
DIRECTUS_DATABASE_PASSWORD=directus

DRONE_TOKEN=my-drone-token
The last thing to do is actually load the code into Directus. You can simply mount the ./hooks folder we just created into the container and reload.
# docker-compose.yml

version: "3.7"

...

  directus:
    ...
    volumes:
      ...
      - ./hooks:/var/directus/public/extensions/custom/hooks
This will trigger a curl post request every time items in a collection listed inside of $collectionsToWatch get either created, updated, or deleted.
You will probably need to make some adaptations if you are not using Drone, but at the end it will boil down to making a http request to your build server triggering a new build.